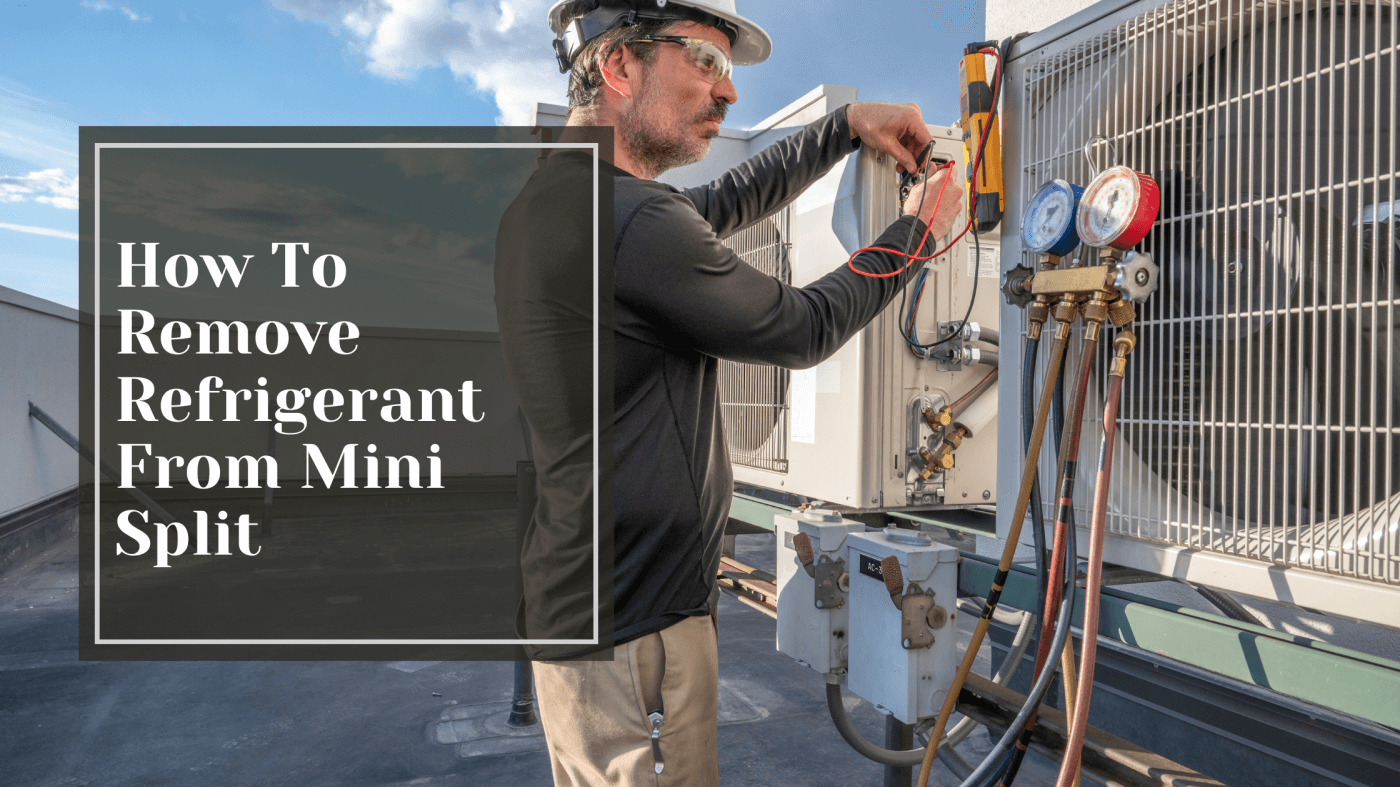
Removing refrigerant from a mini-split is a bit of a technical job, but don't worry—we'll make sure you know exactly what to do. We'll go over how to remove refrigerant from a mini split in detail, so you can be sure that your cooling or heating system is running properly and efficiently. Whether you're a DIYer or an HVAC enthusiast, this article will give you the information and tips to remove refrigerant from your mini split safely. Let's get started!
How To Remove Refrigerant From Mini Split (Safely)
Working with refrigerant can be risky, so taking safety precautions when removing it from your mini-split is essential. Before you start, make sure the power to the unit is switched off and that you have your safety gear on — including appropriate protective eyewear, a face mask, and gloves. Unplugging the unit can also help prevent any potential accidents.

Ensure Safe and Effective Removal of Refrigerant
Then, carefully attach the recovery tank and hoses to the apparatus you'll use for removal. This ensures that all refrigerants will be collected safely and don't escape into the environment or cause damage to you or your home. You'll also want to ensure that you're using an approved container for storing refrigerant and checking for any leaks before, during, and after making the connection.
Finally, when dealing with refrigerant, you must always wear protective gear and keep the area well-ventilated due to possible fumes which can cause respiratory irritations if inhaled without proper protection. Following these steps will help ensure a safe and successful removal process.
Choosing the Right Refrigerant Recovery Machine
When selecting the right Refrigerant Recovery Machine for your Mini Split, it's important to pay attention to its features and capabilities. With a wide range of sizes and options, there is sure to be a machine that works for you.
For starters, you want to ensure the machine can effectively recover refrigerants. This means it should be able to handle different types of refrigerants and temperatures; some machines are even equipped with built-in pressure meters and thermostats. Additionally, you want to look for machines that are easy to operate and have a user-friendly interface.
Consider The Machine's Tank Size
Furthermore, consider the size of the machine's tank—you don't want one too small, or else you will have to constantly refill it. And if you plan on traveling with your machine, make sure it's lightweight and portable so that it can fit into your vehicle conveniently. Finally, make sure the machine is designed with safety features such as ESD protection, leakage protection, and temperature control lockout functions.
Connecting the Refrigerant Recovery Machine to the Mini Split System
Connecting a refrigerant recovery machine is crucial for ensuring that you're disposing of the refrigerant in an environmentally-friendly way. Here's how it's done:
- Switch off the mini-split system and shut off the power supply.
- Find the service ports on both the indoor and outdoor units, which should be labeled correctly. Attach an approved manifold hose set to each port, making sure that there are no leaks.
- Connect each end of the hose from your recovery machine to the correct service ports on your mini-split system. Make sure that all connections are tight and secure before switching on your refrigerant recovery machine.
- Once everything is connected properly, turn on your recovery machine and begin slowly removing the refrigerant from your mini-split system, following all safety instructions provided by the Manufacturer carefully.
- When all of the refrigerants have been removed from both indoor and outdoor units, safely store them in a container until you're able to dispose of them according to federal regulations in your area.

Evacuating and Purging the System With Vacuum Pressure
When it comes to removing refrigerant from a mini split, the process starts with evacuating the system with vacuum pressure. This helps to remove all traces of moisture, oil, and contaminants from the unit. And getting rid of those things is important if you want the unit to work optimally.
To do this, you'll need a few things:
- Vacuum pump
- Refrigerant gauge manifold set
- Nitrogen tank
- Hose for nitrogen tank
- Contact cleaner
- Insulated gloves and safety goggles
Before you start, ensure all system components have been checked and tested to ensure they're working correctly. Now you can begin by connecting the vacuum hose to the low side of your system's manifold gage—keep in mind that any open conduit should be plugged before going through this step. After this, use the gauge manifold set to evacuate any air or moisture in your unit's lines—you should be able to reach a vacuum pressure of at least 500 mbar in around 20 minutes (or less). Once this is done, it's time for purging—use a nitrogen tank and hose connected to the high side of your system's manifold set and switch on the gas flow regulator valve so that a 7-10 bar nitrogen pressure is achieved in 10 minutes or less. When these two steps are complete, you're ready for one last bit of cleaning: use contact cleaner and a brush on each component within your mini split one last time for sanitation purposes before reassembling everything and restarting your system!
Recovering and Storing Refrigerant in Containers
Now that you've depressurized the system, it's time to recover and store the refrigerant. This is an important step to get right for environmental reasons and safety. If done correctly, it's not difficult to do either. Here's how you can remove refrigerant from your mini split:
- Connect the hoses from the vacuum pump and recovery tank to your air conditioner's service ports.
- Turn on the pump and open the valve on the recovery tank. This will start sucking up the refrigerant in your mini split unit into the tank.
- When you're finished, close off the service ports with specially designed caps, then turn off and disconnect your vacuum pump and recovery tank.
- Label each container according to its contents (including the type of refrigerant, weight, etc.), then store it in a safe place until you have a chance to dispose of it properly at a certified recycling station or facility near you.
By doing this correctly, you'll ensure that no refrigerant escapes into the atmosphere and that you've safely handled this process for both yourself and others around you!

Disposing of Used Refrigerant Responsibly
Step 1: Find and Contact a Certified Technician
First, you'll want to find a certified technician who can come in and take away the used refrigerant, evacuate the appliance, and service the system safely. Although this is the best option, it may not be feasible for all homeowners.
Step 2: Dispose of Refrigerant at a Local Recycling Center
Another option is to have an EPA-certified technician come in to recycle the refrigerant and dispose of it properly at your local recycling center. Don't worry—they'll make sure that it goes into an approved tank and is taken care of correctly.
Step 3: Label Your Refrigerator
Finally, make sure that you label your refrigerator with the Manufacturer's name, model number, and serial number when disposing of the refrigerator so that proper disposal procedures can be followed. This will help ensure that any dangerous materials are handled responsibly by professionals.
Ready to Remove Refrigerant?
While removing refrigerant from a mini-split AC unit can be tricky and require some specialized tools, it can be done. We hope this article has provided you with the information you need to safely and successfully remove refrigerant from a mini-split AC unit. If you have any questions, please be sure to consult an HVAC professional. With the right tools and know-how, you can have your mini-split AC unit running in top condition in no time!
Read Trusted Mini-Split Resources
We havelenty of resources are available online if you're interested in learning more about mini-split systems. Check out some of our other blog posts on the topic. Check out our list of the Best Mini Splits of 2023 and if they Are Right For You. You'll also learn How to Size A Mini Split and How to Install a DIY Mini Split System.
Or maybe you're in the market for a mini-split; you should check out some of our popular categories like mini split for garage, 2-ton mini split, or mini-split for 1500 sq ft.
Table of Contents: How To Remove Refrigerant From Mini Split
- How To Remove Refrigerant From Mini Split (Safely)
- Choosing the Right Refrigerant Recovery Machine
- Connecting the Refrigerant Recovery Machine to the Mini Split System
- Evacuating and Purging the System With Vacuum Pressure
- Recovering and Storing Refrigerant in Containers
- Disposing of Used Refrigerant Responsibly
- Ready to Remove Refrigerant?
- Read Trusted Mini-Split Resources


