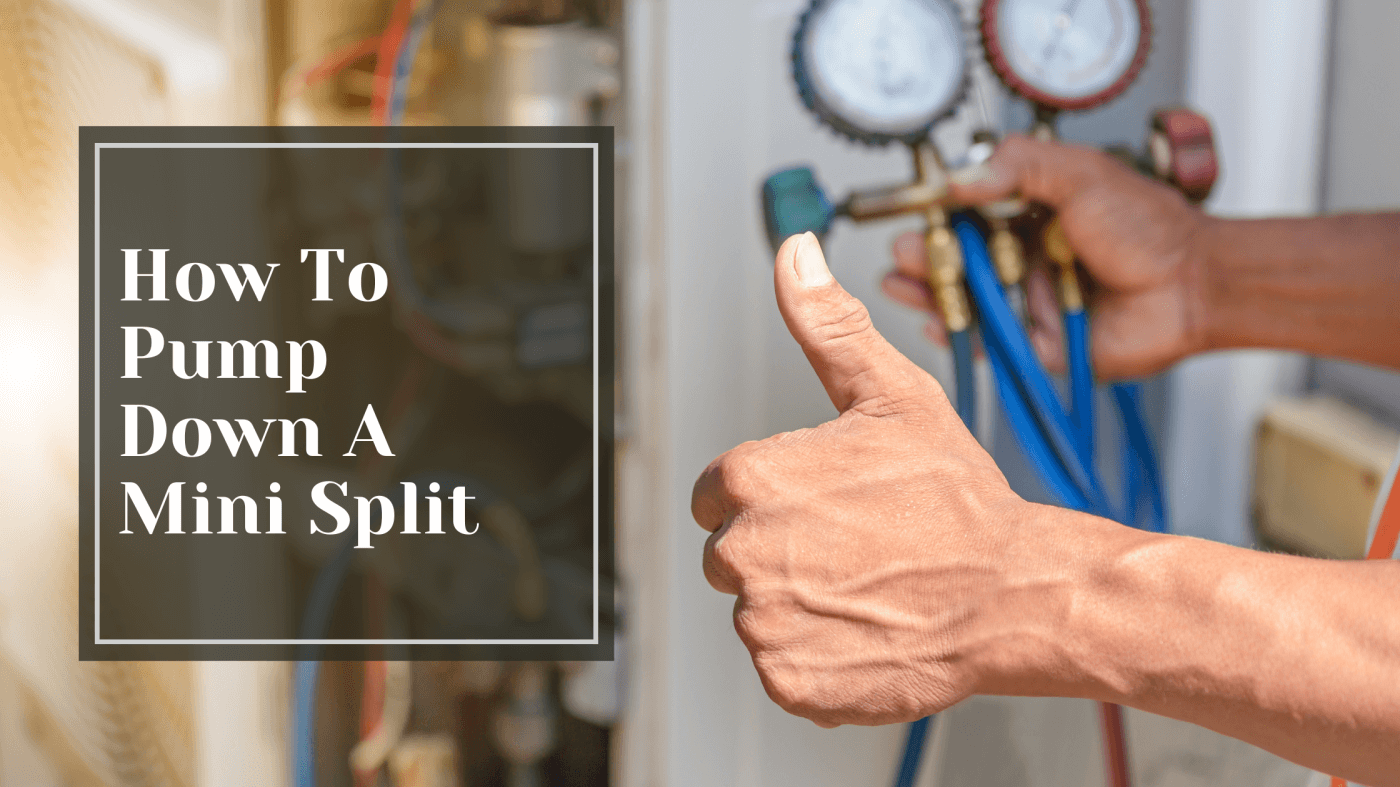
In the realm of HVAC maintenance and installation, pumping down a mini-split system is a crucial procedure that ensures the longevity and efficiency of your equipment. This technique involves removing refrigerant from the unit and securing it within the outdoor compressor, a step often undertaken before servicing or relocating the system. This introductory guide by The Trade Table will walk you through the fundamentals of safely and effectively pumping down a mini-split, equipping you with the knowledge needed to tackle this task confidently.
GREE Vireo+ Ultra 36K BTU 18 SEER Wall Mount Mini-Split Single Zone Heat Pump - VIRU36HP230V1A

$4,435.70
GREE Vireo+ Ultra 36K BTU 18 SEER Wall Mount Mini-Split Single Zone Heat Pump The Vireo+ Ultra combines the design of the original Vireo+ system, while extending the operating capacity to -31°F. It has been designed to blend into any… read more
Steps to Pump Down A Mini Split
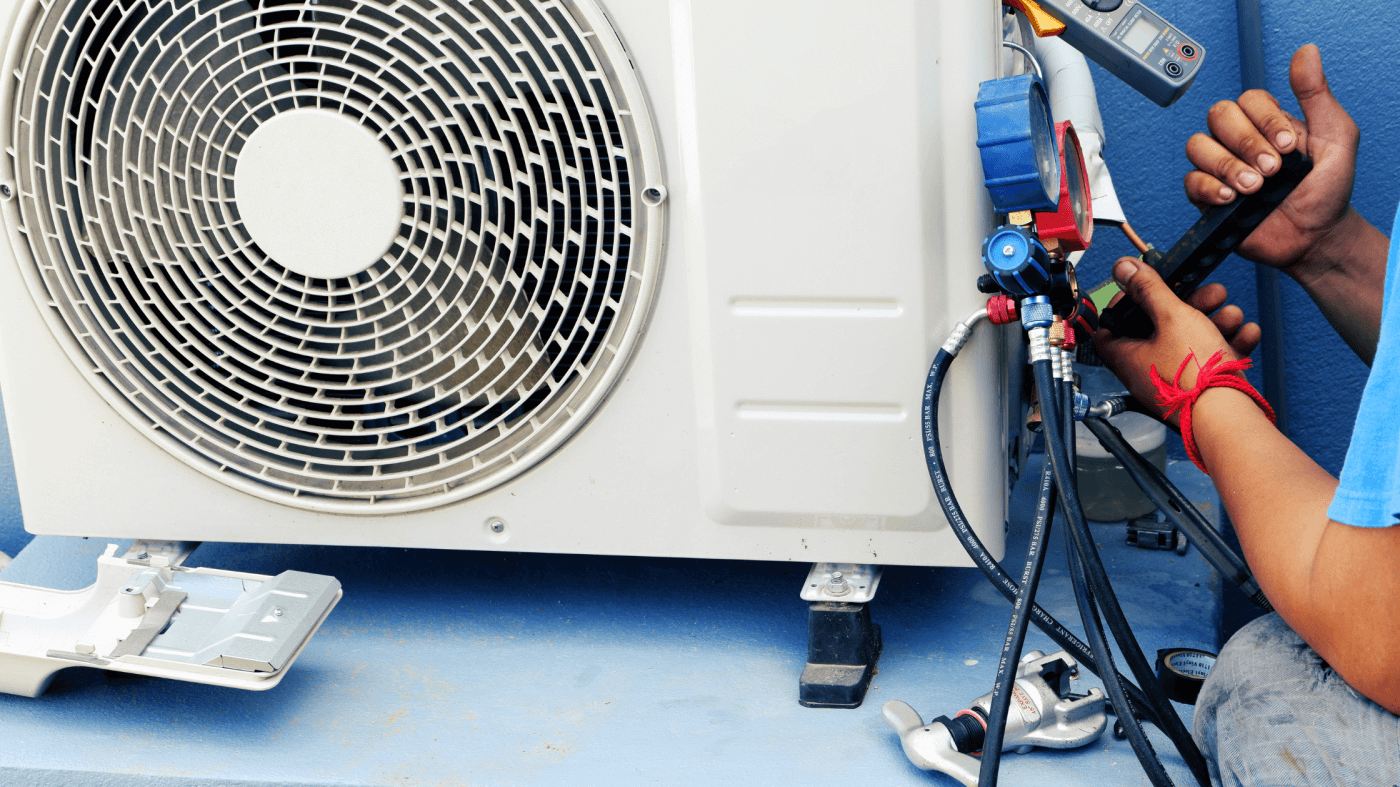
To pump down a mini split, you'll need a vacuum pump, manifold gages to monitor the pressure, and line covers or caps to seal the lines.
- First, turn off the power to your mini-split at the breaker. Safety first! Then, locate the service valves on your outdoor unit. They're typically copper tubes with valve stems sticking out.
- Attach your manifold gages to the service valves. Ensure the gages can handle an AC system's high and low pressures. Connect your vacuum pump to the center port of the manifold gages.
- Next, open all service valves and start the vacuum pump. This will remove all moisture, air, and non-condensable from the AC lines and coils. Run the pump for at least 30 minutes. Keep an eye on the low-pressure gauge - it should drop down to 500 microns or lower.
- Once you reach a deep vacuum, close the service valves and turn off the pump. Disconnect your gages and put covers or caps on the lines to protect them.
- Finally, turn the power back on to your mini-split. The unit will go through its startup sequence as the refrigerant is reintroduced. After a few minutes, your AC should be blowing cold air again.
MRCOOL DIY Easy Pro® 24k BTU Ductless Mini-Split Heat Pump Complete System

$1,698.00
MrCool DIY Easy Pro® 24k BTU Ductless Mini-Split Heat Pump Complete System The MrCool DIY Easy Pro® 24k BTU Ductless Mini-Split Heat Pump Complete System is a compact and efficient heating and cooling solution for small to medium-sized spaces. It… read more
Locate the Service Valves Before You Pump Down A Mini Split
You first need to locate the service valves to pump down your mini split. These valves connect the refrigerant lines to your indoor and outdoor units. The indoor unit typically has two copper lines - a larger suction line and a smaller liquid line. The outdoor unit also has two ports - one for the suction line and one for the liquid line.
The service valves will either be located right where the lines enter the wall or unit or, in some cases, may be inside a covered service panel on the side or bottom of the unit. You may need to remove some screws or a small access panel to access them. The valves typically look like small wheel valves or plunger valves.
Once you've found the valves, ensure your mini split is turned off and off for at least 30 minutes so pressures can equalize. Then, attach your manifold gage set - the two gages that measure suction and liquid pressures. Connect the low-pressure (blue) hose to the suction line valve and the high-pressure (red) to the liquid line valve.
Slowly loosen both valve cores with a valve core tool or pliers until they become loose - do NOT fully remove them yet. The refrigerant may spray out slightly at this point, so be very careful. Have your recovery machine ready to pump the refrigerant into an empty tank. Once the pressures seem equalized, you can fully remove the valve cores to allow maximum flow into your recovery machine.
Continue running the recovery machine until both pressure gages drop to 0 psi. Congrats, you've successfully pumped down your mini-split! Be sure to replace the valve cores before recharging the system with new refrigerant. Following these steps carefully will ensure safe and effective servicing of your mini split.
MRCOOL E Star DIY 4th Gen 24k BTU Ductless Mini-Split Heat Pump Complete System

$2,502.00
MRCOOL DIY 4th Generation E Star 24k BTU Ductless Mini-Split Heat Pump Complete System 208-230V/60Hz The MrCool 4th Generation DIY 24K BTU, 20.5 SEER Ductless Heat Pump is an all-in-one system that seamlessly combines efficiency, durability, and simplicity. This system… read more
Attach the Manifold Gages and Line Cover
Now that you've ensured the power is off to the unit and gathered your tools, it's time to attach the manifold gages. These allow you to monitor the pressures in the refrigerant lines to evacuate the system properly.
Attach the Low-Pressure Hose
- First, attach the blue hose of the manifold gauge set to the low-pressure service port of the outdoor unit. This is the larger of the two ports and will have a cap on it. Remove the cap and screw on the end of the blue hose. Make sure it's on securely.
Attach the High-Pressure Hose
- Next, attach the red hose of the manifold gauge set to the high-pressure service port of the outdoor unit. This port will have a smaller diameter than the low-pressure port. Remove its cap and screw on the red hose. Hand-tighten both hoses to ensure a good seal.
Connect the Vacuum Pump
- Now take the yellow hose from your vacuum pump and connect it to the center port of the manifold gauge set. Make sure all hoses are securely connected to avoid any leaks. Connect the other end of the yellow hose to your vacuum pump and turn it on.
Cover the Lines
- As the system pumps down, take the line cover included with your mini split kit and wrap it around the refrigerant lines to protect them. This is especially important in areas where the lines will be exposed to weather or physical damage. Secure the cover in place with zip ties or pipe clamps.
Start the Vacuum Pump and Open the Low Side Valve
Fire up your vacuum pump and let it run for a few minutes to warm up. Once heated, attach the low side of the yellow hose to the vacuum pump inlet port. Attach the high side of the yellow hose to the low-side service port on the outdoor unit.
Open the low-side access valve on the outdoor unit to allow the vacuum pump to start extracting air from the system. Monitor the compound gauge connected to the vacuum pump to monitor the pressure inside the lines. At first, the pressure will drop quickly, then start to level off. Let the vacuum pump run for at least 30 minutes or until the compound gauge reads 500 microns or less.
The lower the final micron rating, the better. A lower rating means there are fewer contaminants left behind that could damage the new mini-split or reduce its efficiency. Most HVAC technicians aim for 300 microns or less. Some high-end mini-split systems may require a lower final micron level according to the specifications, so double-check with the installation instructions.
Close the low-side access valve to isolate the vacuum once you've achieved a low enough micron level. Turn off the vacuum pump and disconnect the hoses. Your mini-split system should now be free of any air, moisture, or other contaminants that could have been left behind from the previous refrigerant. It's ready for the final step - releasing the new refrigerant charge into the system.
Close the Valves and Turn Off the Pump Once Done
Once you've pumped down the lines and recovered the refrigerant, it's time to close up the system. This involves closing the valves and turning off the pump.
Close the Low Side Valve
- The low-side valve, also known as the liquid line valve, controls the flow of liquid refrigerant into the evaporator coil. Close this valve by turning the stem clockwise. Ensure it's fully closed to prevent refrigerant from entering the system.
Close the High Side Valve
- The high side valve, or discharge line valve, controls the flow of refrigerant vapor leaving the condenser coil. Close this valve by turning the stem clockwise until it's completely closed. Closing the high and low side valves isolates the mini-split unit from the refrigerant lines and pump.
Turn Off the Pump
- With the valves closed, the pump has done its job and can be shut off. Look for the on/off switch or breaker that controls the pump and flip it to the 'off' position. Once the pump stops running, the refrigerant recovery process is complete.
Disconnect the Hoses
- After closing the valves and turning off the pump, the refrigerant hoses can be disconnected from the mini-split unit. Using a wrench, loosen and remove the hose fittings or couplings from the service ports on the mini split. Cap the open hose ends to prevent air or moisture from entering the lines.
Label the Lines
- As a final step, clearly label the refrigerant lines to indicate they have been pumped down and are empty. This will alert anyone servicing the system in the future and prevent them from accidentally opening the valves before recovery equipment is attached. Once labeled, the mini-split unit can be disconnected and removed.
How To Pump Down A Mini Split
So there you have it. Now you know how to properly pump down a mini split AC unit to perform repairs or move the unit to a new location. While the process may seem complicated, with some patience and following the steps carefully, you'll have your mini split pumped down quickly. Remember to turn off the power, close all valves, connect your hoses, start the vacuum pump, open valves slowly and one by one, and monitor the pressures. Once you've pulled a deep vacuum, close the valves, and you're all set. With this knowledge, you'll be able to service your mini-split with confidence going forward.