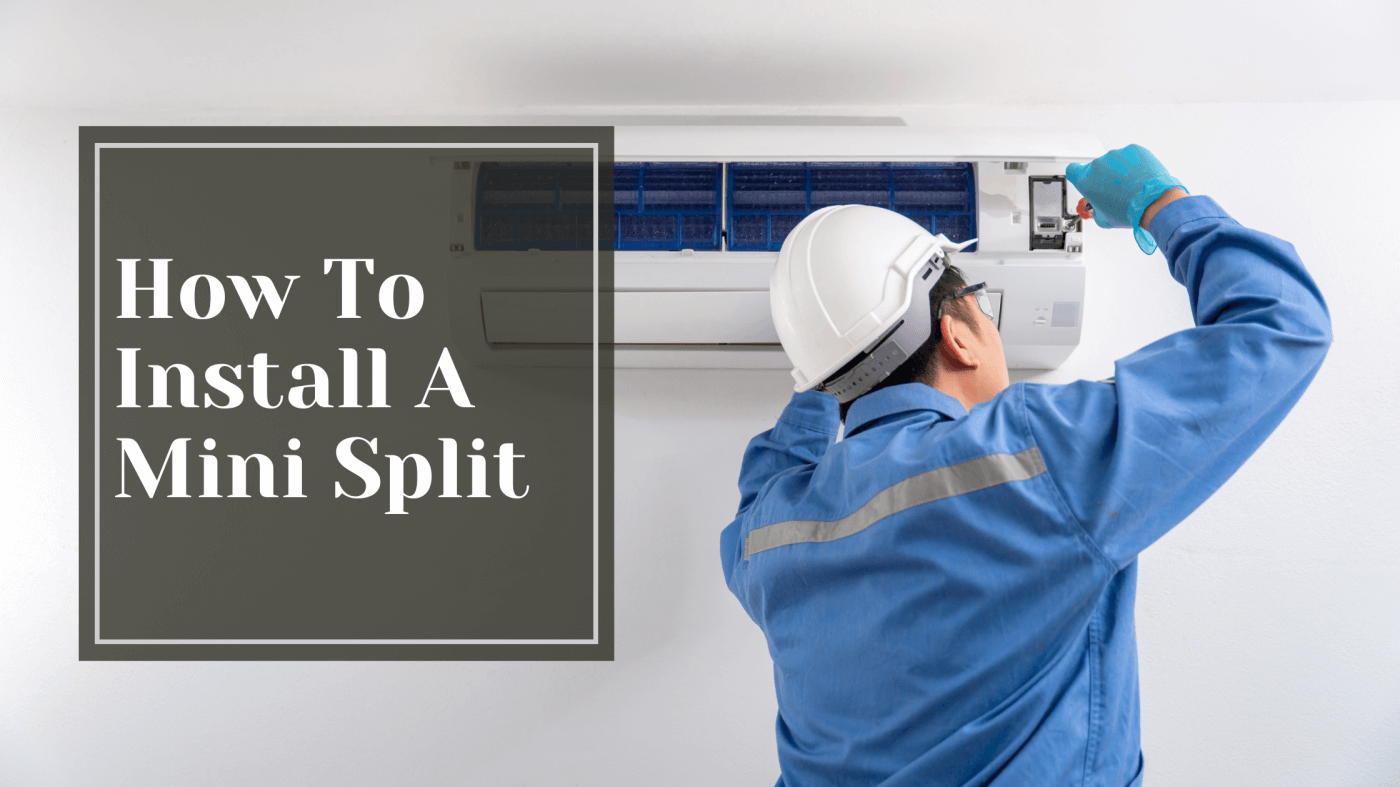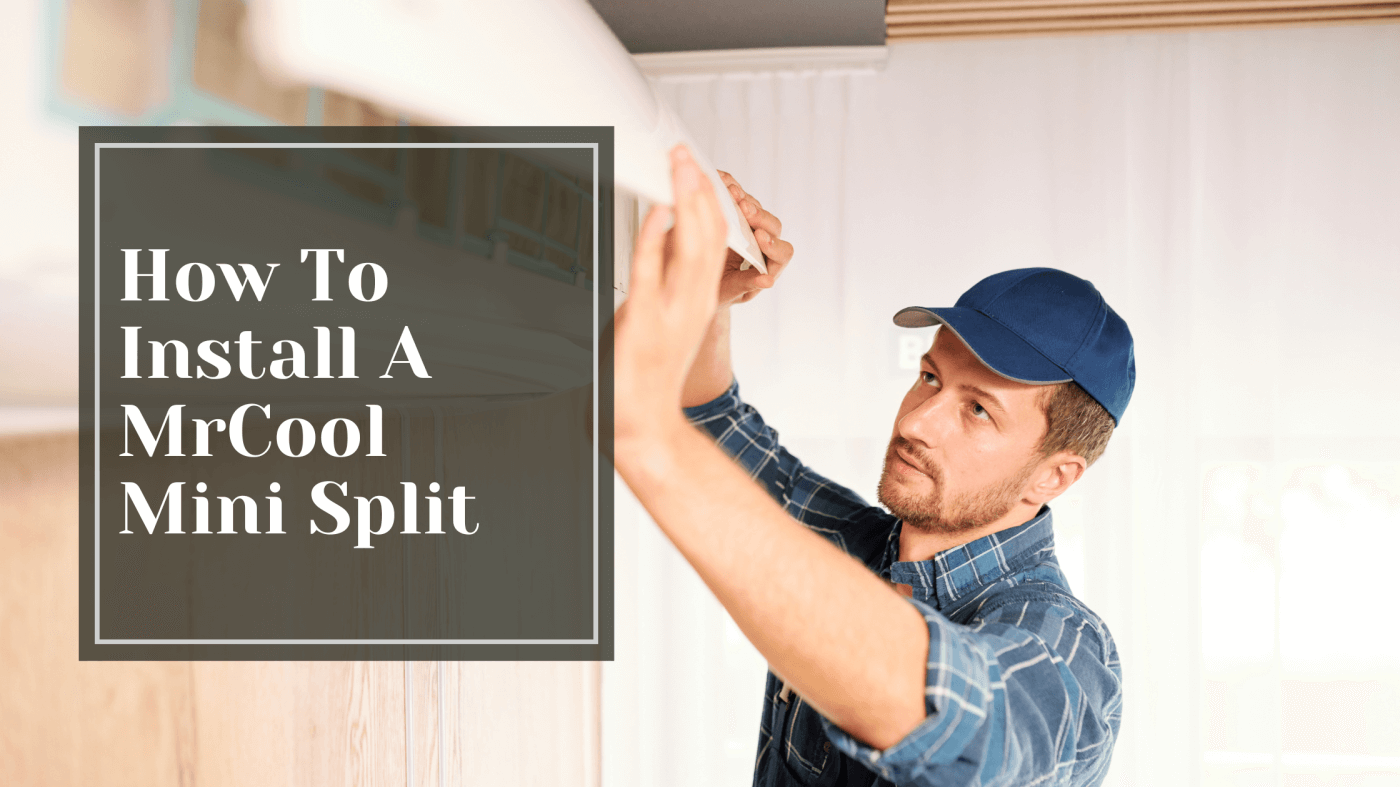
Have you been thinking about getting a mini split air conditioner to cool your home but worried about how difficult installation might be? Don't sweat it. Knowing how to install a MrCool mini split is pretty straightforward if you're moderately handy. You've got this. In just a couple hours, you'll be chilling in comfort.
MRCOOL DIY Easy Pro® 24k BTU Ductless Mini-Split Heat Pump Complete System

$1,698.00
MrCool DIY Easy Pro® 24k BTU Ductless Mini-Split Heat Pump Complete System The MrCool DIY Easy Pro® 24k BTU Ductless Mini-Split Heat Pump Complete System is a compact and efficient heating and cooling solution for small to medium-sized spaces. It… read more
Required Tools for Installing a MrCool Mini Split
To install a MrCool mini split, you'll need some essential tools and supplies. First, ensure you have a drill/driver, adjustable wrench, level, tape measure, and wire cutters. You'll use these to mount the indoor and outdoor units and connect the refrigerant lines.
Don't forget protective gear like work gloves, safety glasses, and steel-toed boots. Installing an AC unit involves sharp edges and heavy equipment.
Refrigerant line set and accessories
- The line set transfers refrigerant between the indoor and outdoor units. You'll want a gauge manifold to charge the system, flare nuts to seal the line connections, and insulation tape to wrap the lines.
Condensate pump (if needed)
- If your indoor unit can't drain condensation on its own, you'll require a condensate pump. Make sure to get a compatible drain pipe or tubing.
Concrete anchors (if mounting on concrete)
- You'll want anchors to firmly attach the mounting brackets for concrete walls. Choose anchors that can support at least five times the weight of your AC unit.
Thermostat (optional)
- A smart thermostat lets you control the temperature from your Wi-Fi-enabled device. MrCool mini splits come with a standard digital thermostat, but a smart thermostat provides more convenience and energy efficiency.
MRCOOL E Star DIY 4th Gen 36k BTU Ductless Mini-Split Heat Pump Complete System - 208-230V/60Hz

$2,888.00
E Star DIY 4th Gen 36k BTU Ductless Mini-Split Heat Pump Complete System - 208-230V/60Hz The E Star DIY 4th Gen 36k BTU Ductless Mini-Split Heat Pump Complete System - 208-230V/60Hz is a high-performance heating and cooling solution for medium… read more
Selecting the Right MrCool Mini Split Model
Choosing the suitable type to install a Mrcool mini split depends on several factors. The most important considerations are:
Size of the area you want to cool
MrCool offers units for spaces from 150 to 2500 square feet. Measure your room dimensions to determine the proper BTU rating. Undersizing won't effectively cool the space while oversizing will reduce energy efficiency.
Single-zone or multi-zone
A single-zone unit will work great if you only need to cool one area. For multiple rooms, a multi-zone system lets you control temperatures separately. MrCool's multi-zone units can connect 2-5 air handlers to one outdoor unit.
Heating needs
Most MrCool units provide heating as well as cooling. If you live in a colder climate, look for a model with a high-heating BTU to keep you cozy all year round.
Energy efficiency
MrCool mini splits have efficiency ratings from 16 to 23 SEER, which can significantly lower your utility bills compared to older systems. The higher the SEER, the more efficient the unit is.
Additional features
Consider extras like WiFi connectivity for remote control, quiet operation for noise-sensitive areas, auto-swing louvers for even air distribution, and long warranty periods for peace of mind.
Installation requirements
Ensure you have adequate space for the outdoor unit and additional components like air handlers. Installation can be done DIY-style for smaller units, but larger or multi-zone systems may need professional installation. Check your local building codes regarding the mini-split installation and any permits needed.
Preparing the Installation Space for Your MrCool Mini Split
First, determine the best indoor air handler and outdoor condenser unit location. The indoor unit should be placed high up on a wall in the center of the room you want to cool. The outdoor unit must be situated on a concrete pad on the ground outside. Make sure there is at least 5 to 6 feet of clearance on all sides of the outdoor unit for airflow and access.
You'll also need enough space for the line set pipes that carry refrigerant between the indoor and outdoor units. Plan for a 3-inch hole through the wall to feed the line set pipes through. The line set pipes must be within 165 feet of each other, so keep the indoor and outdoor units relatively close together.
Proper Placement and Installation of Outdoor Unit for Efficient Operation
It's critical to choose a spot for the outdoor unit to allow for efficient operation. Place it in a shady area, away from obstacles like plants, fences, or walls that could block airflow. The outdoor unit produces noise during operation, so install it at least 10 feet from any doors or windows. Consider a spot that will minimize noise impact on neighbors or in your backyard.
Once you've determined the best locations, you'll need to pour a concrete pad for the outdoor unit to sit on. The pad should be at least 6 inches thick and extend a couple of inches beyond the base of the unit on all sides. This provides a stable foundation and allows for drainage.
MRCOOL DIY Easy Pro 12k BTU Ductless Mini-Split Heat Pump Complete System

$1,299.00
MrCool DIY Easy Pro® 12k BTU Ductless Mini-Split Heat Pump Complete System Skip professional installation with the MrCool® Easy Pro® 12k BTU Ductless Mini-Split Heat Pump System. This system can heat or cool a room of up to 500 square… read more
Step-by-Step Guide On How To Install a MrCool Mini Split
Now that you have the MrCool mini split unit ready to install, it's time to get started with the actual installation process. The following steps will guide you through installing your new mini split AC system.
Mount the outdoor unit
First, you'll want to mount the outdoor condenser unit on a concrete pad or wall bracket. The unit should be placed in an area with plenty of air circulation, away from overhanging roofs or plants. Make sure it's level for proper drainage and operation.
Install the wall mount and drill holes
Next, you'll install the wall mount for the indoor evaporator unit. Find a spot on the wall about 5 to 7 feet high. Make sure there are no obstructions behind the wall. Drill pilot holes into wall studs or wall anchors and secure the mount.
Connect the refrigerant lines
After the units are mounted, connect the refrigerant lines. Flare the copper lines and connect them to the indoor and outdoor units. Make sure the lines are not kinked or bent. Insulate the lines to prevent heat transfer.
Connect the drain line
The evaporator unit produces condensation, which needs to be drained. Connect the drain line to the evaporator unit and run it to an appropriate drain. Make sure the line is sloped downward to allow for proper water flow. Insulate the drain line.
Connect the electrical lines and test
Connect the power supply to the outdoor and indoor units. Connect the communication cable between the units. Turn on the power and test your mini-split to ensure it's operating properly. Make any final adjustments needed for positioning or connections.
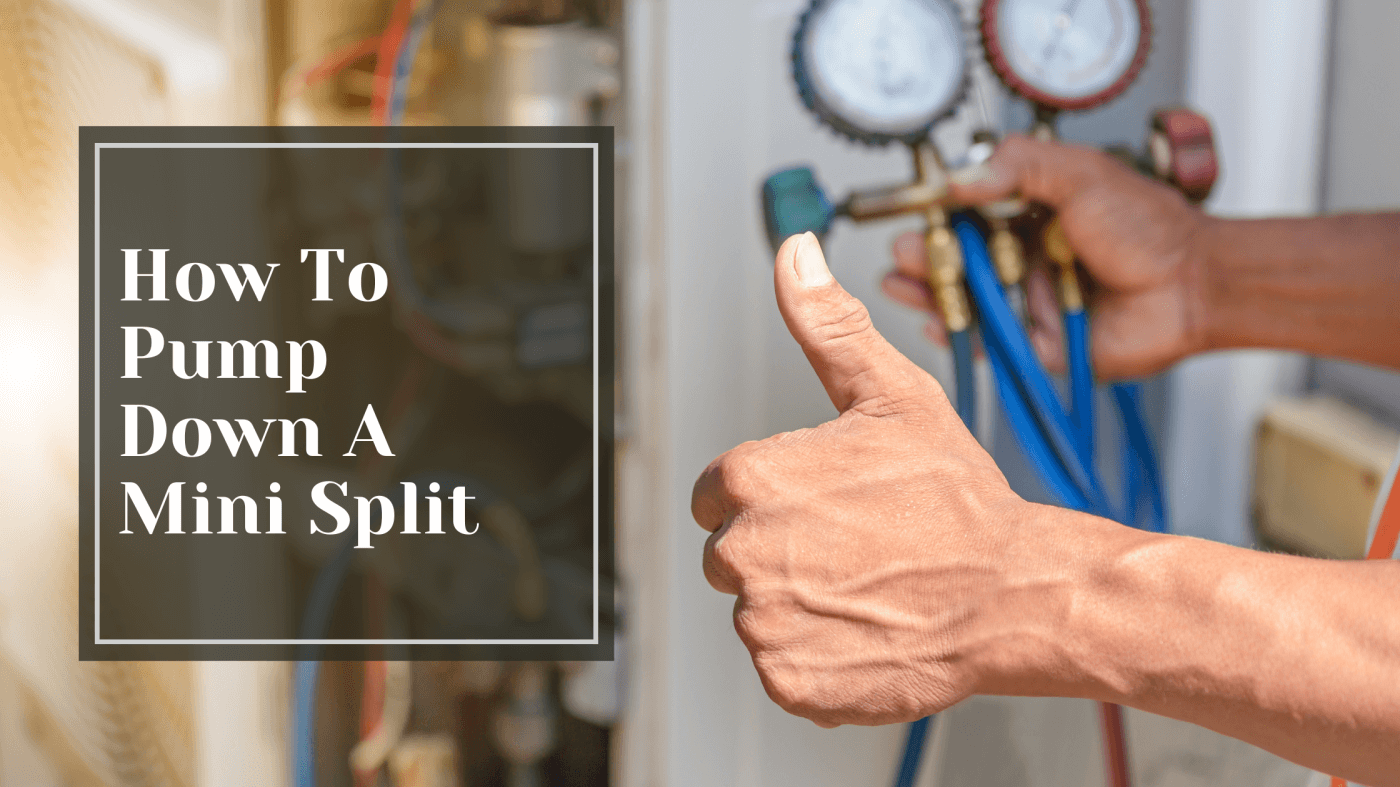
Add refrigerant and seal the system
Once tested, certified technicians must add refrigerant to charge the system and seal it for operation. Your mini-split system should now be fully operational and keep you comfortable! Be sure to schedule regular maintenance to keep your AC running efficiently.

Installing a MrCool Mini Split
So there you have it. With some patience and the right tools, you've now installed your own efficient MrCool mini split. Turn that bad boy on and feel the cool, crisp air. You deserve it! Not only will you be enjoying your new AC for years to come, but you'll also save a bundle versus paying a professional. And whenever your neighbors ask who installed your mini split, you can proudly tell them you did it yourself. They'll be so impressed. But you know the truth - anyone can install their mini split with the right guide, like this one. Congratulations, you're now an official HVAC installer. Enjoy your cool new skill and your even cooler home!