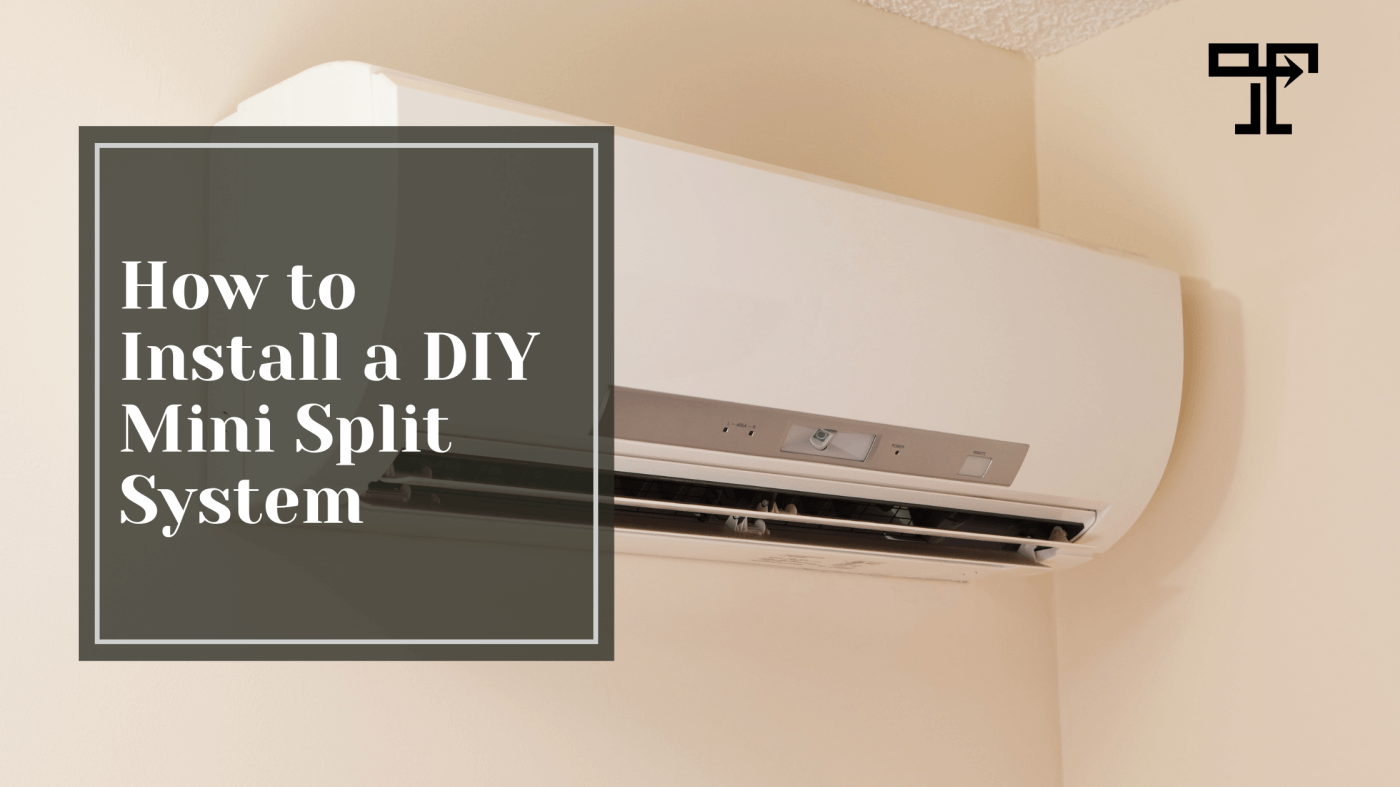
More and more people are switching to mini splits than ever, but professional installation can be costly – especially when added to the cost of the system itself.
Don't worry! With many great DIY kits from established brands available, putting in your ductless system is easier than ever and can save you thousands. So, let's talk about how to install a DIY mini split system.
DIY Mini-Split Tools Required
- Adjustable Wrench
- Drill and Driver
- Hole Saw
- Level
DIY Recommended Materials
- Wall Brackets or Plastic/Concrete Pad (condenser)
- Wall Brackets (evaporator)
- Plastic Line Set Cover Kit
- Screws
Steps to Install a DIY Mini-Split
Step 1: Power to your Mini-Split
First, you need to get power to the system. Mini-splits usually run on 120V or 220V Mini Split. A small system might allow you to tie into your pre-existing circuit, but the safest practice is dedicating a new breaker line to it by running a cable from the main panel to the unit. Remember to turn off the power before you begin working! Safety first, friends.
Step 2: Condenser Placement
The first step for installing your outdoor unit is finding the best location. Ideal locations should have good air circulation/ventilation, a solid base supporting the unit, and be as obscured from sight and sound as possible. Position the unit to protect it from the weather (snow, rain, sun, etc.) if you can.
Install the base for the condenser. If mounting on the ground, place the foundation pad. If wall mounting, install the condenser brackets. Either way, make sure to leave ample clearance around the unit. How much clearance should be specified in the manufacturer's manual, but at least 12" inches is recommended.

Step 3: Air Handler Placement
In the room you want air conditioning, choose an exterior wall that leads to the outside. Like the condensing unit, find an area large enough to house it and where things like furniture or shelving won't block it. The manual should list required clearances. Ensure the spot is free of wires and pipes before you make your hole. Locate the studs and fasten the bracket to them with screws. Ensure to use a level when installing your brackets; it's essential for proper function.
Step-by-Step Guide for Wall Hole and Line Connections
Drill a 2-3" hole in the wall between the brackets. The hole is typically in the lower left or lower right-hand corner, but refer to the manufacturer's manual for your specific unit. Create a downward slope with your hole saw to allow condensation to drip down to the outside.
Feed the refrigerant line, drain tubing, and control wiring through the wall (electrical tape helps keep them together). Connect all your lines to the circuit's outside condenser, indoor evaporator, and control wire. Please note DIY kit refrigerant lines come pre-charged. Be careful not to cut or break pre-charged lines – this is very dangerous.
Mounting the Air Handler and Covering the Refrigerant Line Set
Once everything is hooked up, it's time to mount your air handler. Replace any insulation lost in the process for better efficiency.
Last but not least, cover your refrigerant line set with some casing. Metal works great, but plastic is a more cost-effective solution for the DIY'er.

Step 4: Testing the DIY Mini-Split
Make sure to test your system – especially before you need it!
If you need more confidence with electrical or HVAC, having a licensed professional check never hurts to ensure it all checks out. Local inspectors are often happy to help, especially when safety is involved.
Onward to your DIY Journey
We highly recommend that if you feel uncomfortable with any of these steps, you get a trained professional to help you. Whether that be electrical or HVAC - when in doubt, call for help.
Happy heating!