Seasoning your grill doesn't mean throwing salt and pepper on your ceramic smoker. Seasoning – or curing – metal means coating it with oil and searing it in at high heat, creating a nonstick surface. It also forms a protective barrier that extends its lifespan, improves performance when cooking, and some say makes your grill marks taste that much better! It's time to learn how to properly season a grill.
What does it mean to Season a Grill?
Whether you just got a brand new grill or are taking out the ol' smoker from last year, expert BBQ'ers widely agree that seasoning your grill is a must. But how do you properly season a grill?
The process is essentially the same whether it's a pan, outdoor gourmet grill, or griddle, and it is great to do whether it's a propane grill or a charcoal smoker. Cast iron – what most grills are made of – famously benefits the most from this process, but other types of metal can also be seasoned (carbon and stainless steel, etc). We'll cover how to prepare your char broil king for roasting in four easy steps.
Seasoning your grill will help make you a master chef at your next backyard barbecue!
Steps to Properly Season a Grill:
Step 1: Clean the Grill
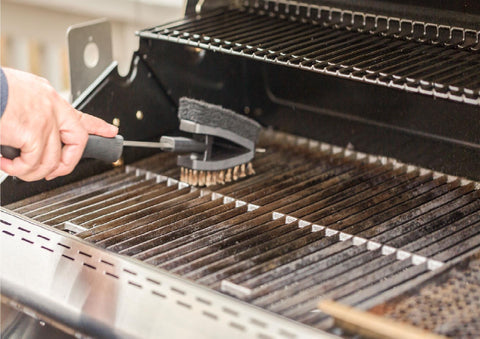
The first step towards a well-seasoned grill is to give it a good scrub. That means grab a steel wool or wire brush and scour the surface if you've got them. Even a vigorous brushing with some damp paper towels works well if that's what you have. You don't need any soap, but if you use it – make sure to wash it off thoroughly before the next step. This gets rid of either factory contaminants if it's a new grill or last year's gristle and char if it's a veteran unit. The idea is to have a nice clean surface so the next step can work well.
Step 2: Oil your Gourmet Grill
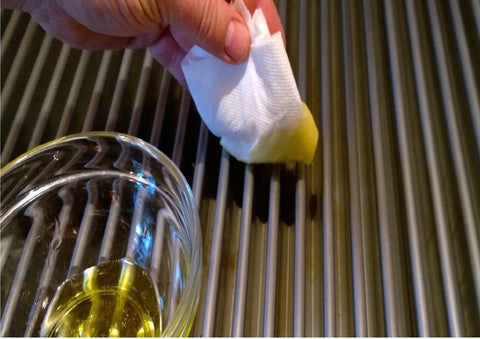
It's time to oil your grill. It helps to use a spray bottle for nice even coverage and to reduce excess oil usage. Basting and painting brushes work well too. Just make sure they're clean before you use them. Canola and vegetable oil are popular choices when seasoning cookware, but some prefer to use high-heat fats and oils instead – believing it adheres to the metal better and because it produces less smoke. A helpful list of commonly used oils and their smoke points can be found here.
The idea is to coat the grill thoroughly but careful not to drench it or have dripping oil, as this can be a safety hazard. Too much oil can cause a grease fire, and as fun as those are… it's probably better to keep your eyebrows.
Step 3: Let that Grill Burn!
This is where the magic happens. Take your grill and turn it up to a very high heat to burn off all the remaining impurities and contaminants. At least 450-500° is recommended, but some say as hot as possible to sear the oil into the metal. Even with high smoke-point oils, it will smoke intensely and burn off all the remaining debris on the grill – but don't worry, this is supposed to happen. The discoloration isn't a concern as well since this is expected. As you heat the oil, it sears into the metal, creating a chemical reaction that forms a long-lasting nonstick surface. This is what helps keep your grill from rusting and food from sticking.
Make sure you have good airflow or ventilation when doing this, and you would want to avoid smoking out your neighbor! Do this for about 20 - 30 minutes, though some advocate keeping it at high heat for up to 45 minutes. The science needs to be clearer on which is better, but everyone agrees that at least fifteen minutes is needed for the right effect.
Step 4: Cool off the Grill
You're almost there. Leave the grill for about 15 - 20 minutes to cool down, or longer if you turned that thing into an inferno. You may see some color changing again, which is normal – just a sign that the process worked well. It should all have turned to ash at this point, but brush off any char and leftover debris on the grill. You can add one more light coating of oil to the grill to further prevent rust and aging, but your grill should already be fairly seasoned at this point, and this is not required.
Now you should be ready for a whole season of backyard cookin'!

