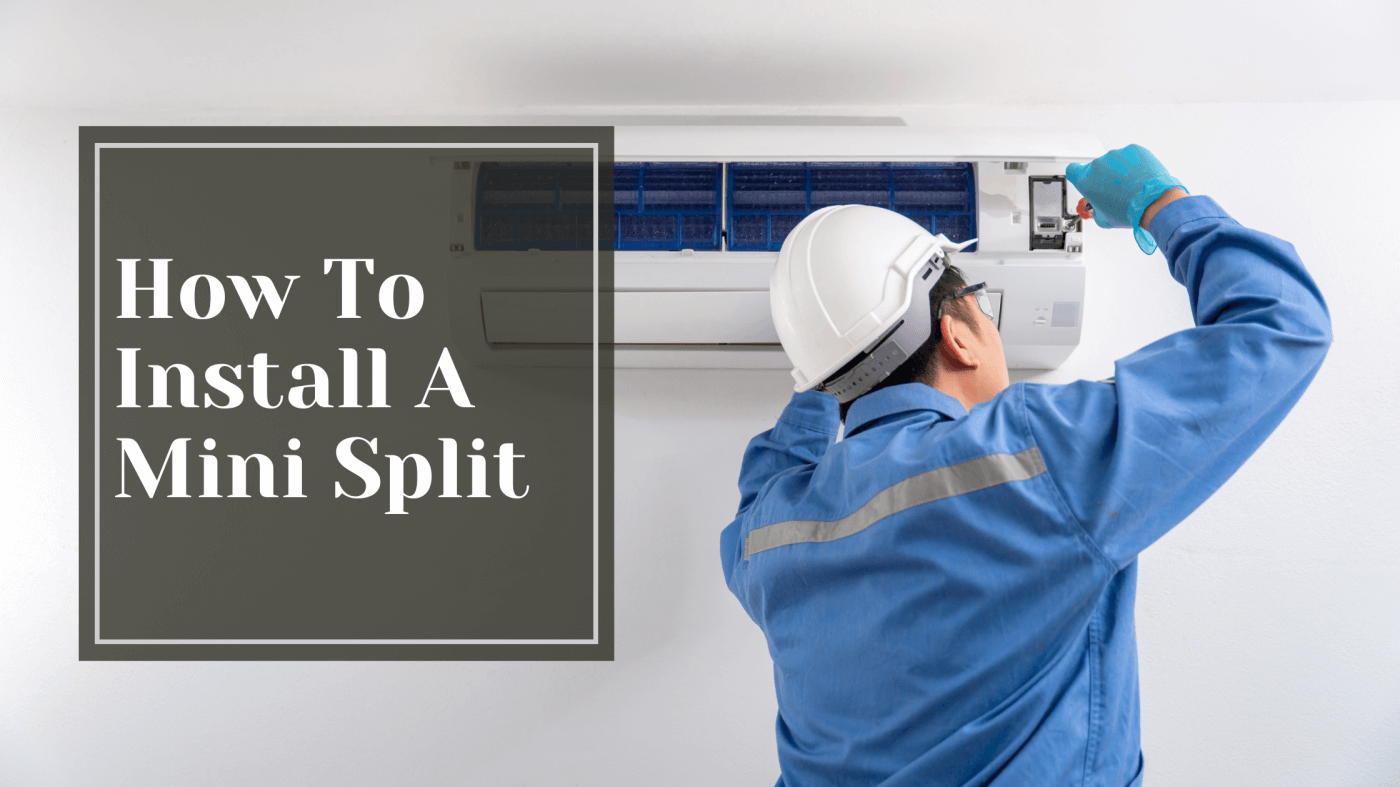
Installing a new mini split heat pump system is an advanced project, but with some patience and the proper tools, you'll be enjoying lowered utility bills and a comfortable indoor environment in no time. In this comprehensive guide by The Trade Table, you'll learn how to choose the right size and type of mini-split system for your needs, handle the installation yourself, maximize energy efficiency, and ensure years of reliable service from your new system.
MRCOOL E Star DIY 4th Gen 36k BTU Ductless Mini-Split Heat Pump Complete System - 208-230V/60Hz

$2,888.00
E Star DIY 4th Gen 36k BTU Ductless Mini-Split Heat Pump Complete System - 208-230V/60Hz The E Star DIY 4th Gen 36k BTU Ductless Mini-Split Heat Pump Complete System - 208-230V/60Hz is a high-performance heating and cooling solution for medium… read more
How Much Does It Cost to Install a Mini Split Heat Pump?
The major factors that determine the total cost are:
-
The number and capacity of indoor units. More units and higher BTU ratings mean higher costs. For a typical residential system, you can expect to pay between $3,000 to $7,000 for a single-zone system and $8,000 to $14,000 for a multi-zone system with 3-4 indoor units.
-
Additional installation components. Things like more refrigerant line sets, electrical upgrades, and ductwork modifications will increase the installation price.
-
The brand and efficiency of the system. Higher-end brands and more efficient systems, especially those with inverter technology, tend to cost more upfront but can save more energy in the long run.
-
The contractor and installation complexity. Reputable contractors with proper certifications and experience will likely charge more for a high-quality installation. Difficult or customized installations also add to the total cost.
MRCOOL DIY Easy Pro® 24k BTU Ductless Mini-Split Heat Pump Complete System

$1,698.00
MrCool DIY Easy Pro® 24k BTU Ductless Mini-Split Heat Pump Complete System The MrCool DIY Easy Pro® 24k BTU Ductless Mini-Split Heat Pump Complete System is a compact and efficient heating and cooling solution for small to medium-sized spaces. It… read more
Planning Your Mini Split Heat Pump Installation
First, determine the ideal location for your mini split heat pump. The outdoor condenser unit should be placed on a level concrete pad in an area with plenty of airflow and sunlight exposure. The indoor air handler should be mounted on a wall in the room you want to heat and cool. For the refrigerant lines that connect the two units, choose a path through walls or ceilings that avoids sharp turns or bends.
Next, install the mounting brackets for the air handler and condenser pad. The brackets must be securely fastened to wall studs or a concrete base to properly support the units. If installed in new construction, studs may need to be added.
Then, create openings in walls for the refrigerant lines and any control or power cables. The lines connecting the units must be properly insulated to maximize efficiency. Vacuum or blow out any debris before installing the lines.
Finally, evacuate the refrigerant lines to remove any moisture or air, then fully recharge the system with refrigerant. Failure to properly charge the system can reduce performance or damage the compressor.
MRCOOL E Star DIY 4th Gen 24k BTU Ductless Mini-Split Heat Pump Complete System - 208-230V/60Hz

$2,502.00
DIY 4th Generation E Star 24k BTU Ductless Mini-Split Heat Pump Complete System 208-230V/60Hz The MrCool 4th Generation DIY 24K BTU, 20.5 SEER Ductless Heat Pump is an all-in-one system that seamlessly combines efficiency, durability, and simplicity. This system can… read more
Picking the Right Location for Your Mini Split Heat Pump
Picking the right location for your mini split heat pump is crucial to its performance and efficiency. Consider the following factors carefully when determining the optimal spot:
Room Size and Layout
-
Select a location that will allow the unit to distribute air evenly and efficiently throughout the space. Place the indoor unit on an interior wall away from corners. For larger rooms, a central spot along one wall is ideal. Ensure the area has enough space for the unit and any air vents or pipes needed. Measure the room and unit dimensions ahead of time to confirm an optimal fit.
Airflow Obstructions
-
Choose a location free from any obstructions that could block airflow like furniture, cabinets, staircases, or interior walls. The indoor unit should have at least 6 to 12 inches of clearance on all sides and the vents or piping leading from the outdoor unit should have a clear path through walls or roofs. Any obstacles reducing airflow will reduce the system's effectiveness and efficiency.
Electrical Outlets
-
Select a location within proximity to an electrical outlet able to provide the necessary power for your specific unit size. Most residential mini-split heat pumps require a dedicated 240-volt outlet. Have an electrician install the appropriate outlet before the system is installed if one is not already available in your desired location.
Outdoor Unit Positioning
-
For the outdoor compressor unit, choose a spot at least 5 to 10 feet away from windows, doors, or other openings to prevent noise transmission into the building. The area should receive adequate airflow and not trap heat, as the unit expels hot air as it operates. Place the outdoor unit on a sturdy, level surface on the ground or wall mount if required for your specific model. Ensure all necessary refrigerant line sets can be run from the outdoor to indoor units without issues.
MRCOOL DIY Easy Pro 12k BTU Ductless Mini-Split Heat Pump Complete System

$1,299.00
MrCool DIY Easy Pro® 12k BTU Ductless Mini-Split Heat Pump Complete System Skip professional installation with the MrCool® Easy Pro® 12k BTU Ductless Mini-Split Heat Pump System. This system can heat or cool a room of up to 500 square… read more
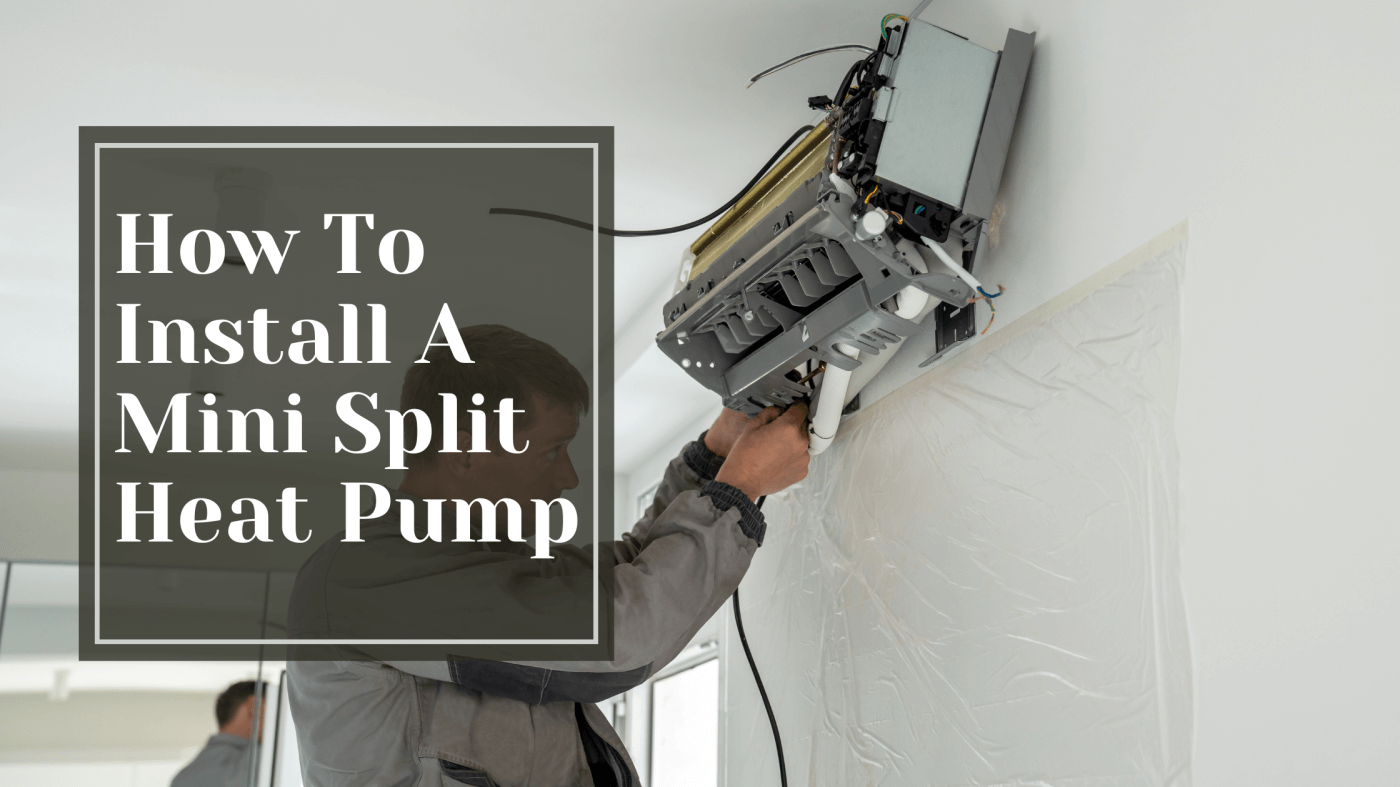
Installing the Mini Split Heat Pump Unit
Once you have the mini split heat pump unit, you are ready to install it. Carefully follow the instructions in the manufacturer’s manual for your specific model.
Positioning the Outdoor Unit
-
Place the outdoor unit in an area with plenty of air circulation, like near an exterior wall. Ensure there are no obstructions above or around the unit that could block airflow or make service difficult. Mount the unit at least 3 to 6 inches above ground level to allow for drainage. Secure the unit to a concrete pad or platform for stability.
Installing the Indoor Unit
-
Mount the indoor unit high on a wall, preferably in a hallway or area that will allow the conditioned air to circulate throughout the space. Ensure there are no obstructions that could block airflow from the unit. Secure the mounting plate to studs in the wall, as it must support the weight of the unit. Connect the refrigerant lines from the outdoor unit to the ports on the indoor unit.
Connecting Power and Controls
-
Run electrical power to the outdoor and indoor units. Connect the control cable between the units so they can communicate. Turn on the power to check that all connections are secure and the units are functioning properly before closing up the installation.
Insulating and Sealing
-
Insulate the refrigerant lines, especially in unconditioned areas like the attic or crawlspace. Seal and weatherize around the lines where they enter the building. This helps maximize efficiency and prevents energy loss. Seal and weatherize around the edge of the indoor wall unit to prevent conditioned air from escaping into the wall cavity.
Testing Your New Mini Split Heat Pump System
Once you have installed the indoor and outdoor units of your mini split heat pump, it’s time to test the system to ensure it is functioning properly before using it.
Checking the Installation
-
Double-check that the outdoor and indoor units have been securely installed in the appropriate locations. Ensure all connections are tightly sealed and that condensation drainage has been properly installed and is flowing as expected. Check that all wiring has been safely connected and turned on at the circuit breaker.
Powering On the System
-
Turn on the mini split heat pump at the circuit breaker and the indoor unit. The unit should begin operating. If there is no power, check all wiring connections again. The fan in the indoor unit should turn on and start blowing air. If not, turn the unit off and check that all wiring is properly connected before trying again.
Setting the Desired Temperature
-
Use the remote control or control panel to set the desired temperature for the space. For cooling, lower the temperature by 5-10 degrees below the current room temperature. For heating, raise the temperature a few degrees above the room temperature. The unit may take a few minutes to start blowing hot or cold air.
Checking Air Flow and Temperature
-
After a few minutes, check that air is blowing from the indoor unit and that the air temperature is changing to reach the set point. The airflow should be steady and unobstructed. If it is not blowing enough air or not reaching the correct temperature, turn off the unit and contact an HVAC technician to inspect and resolve any issues.

How To Install A Mini Split Heat Pump
After completing the installation of your mini split heat pump, it's time to take advantage of its energy-efficient heating and cooling capabilities. By following the instructions carefully and taking your time during installation, you now have an affordable and eco-friendly solution for controlling the temperature in your space. Enjoy the rewards of your work and the increased control over your home's indoor climate.